How Can We Help?
Google AuthenticationGoogle Authentication
If you are using Google Authentication with your Pure instance, and since it is not in the pre-integrated catalog you have to follow the next steps:
- Sign in to your Google Admin console (https://admin.google.com/)
From the Admin console Home page, go to AppsWeb and mobile apps
- Click Add App
Add custom SAML app
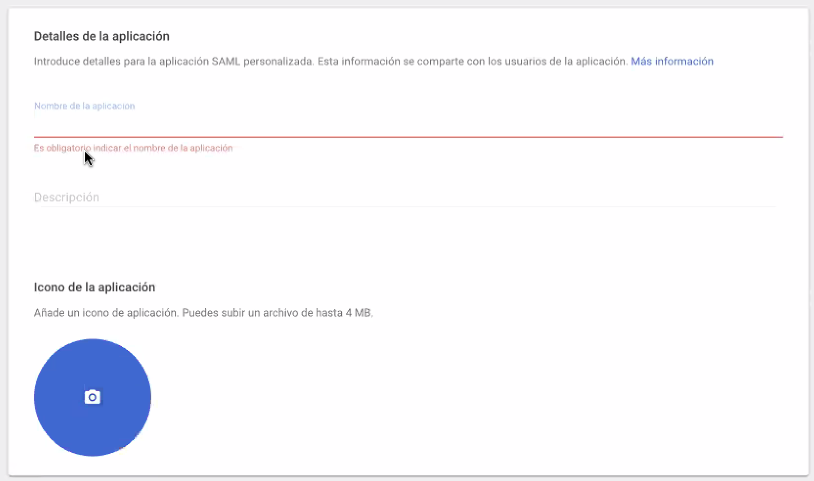
- On the App Details page:
- Enter the name of the custom app

- Enter the name of the custom app
- Click Continue
- On the Google Identity Provider details page download the IDP metadata.
- Click Continue
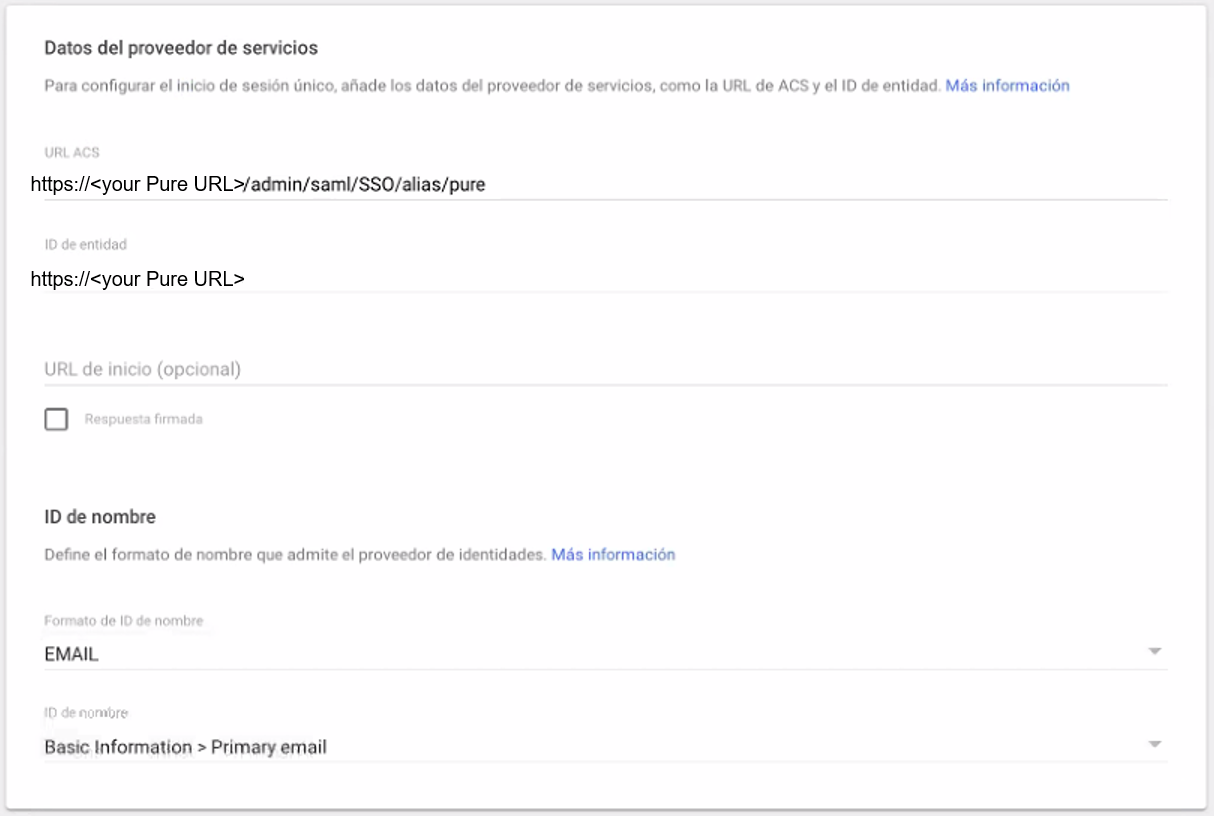
- In the Service Provider Details window, enter an ACS URL and Entity ID
- ACS URL should be https://<your Pure URL>/admin/saml/SSO/alias/pure
-
Entity ID i.e.Pure-Instance.uni.edu or https://<your Pure URL>

- The default Name ID is what you are using as a username in Pure, such as an email or employeeId (In this example we use email)
- Click Continue
- On the Attribute mapping page, click Add another mapping to map additional attributes
- Select the Primary email as email App attribute

- Select the Primary email as email App attribute
- Click Finish
Remember to assign the app to the users that are going to access Pure, otherwise you'll receive a 403 code saying that the user is not assigned to the application.
Google does not provide a permanent URL to the metadata, so you need to place the Metadata on a web server somewhere so that Pure can download it using the parameter Full URL to the IDP metadata in Administrator>Security>Admin>SAML2
For the rest of the configuration (including private key and certificate) follow the steps in SAML2 (WAYF, Shibboleth, ADFS)
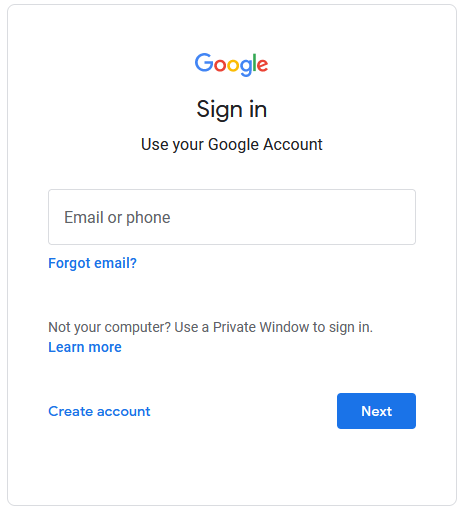
After saving and activating the SAML2 configuration in Pure when you go to: https://<your Pure URL>/admin you will be presented with Google Authentication

Published at September 16, 2024
